There is no special procedure to follow if you frequently clean your bird feeder, but if you let mold or stains build up, you’ll have to find alternative ways to get rid of them.
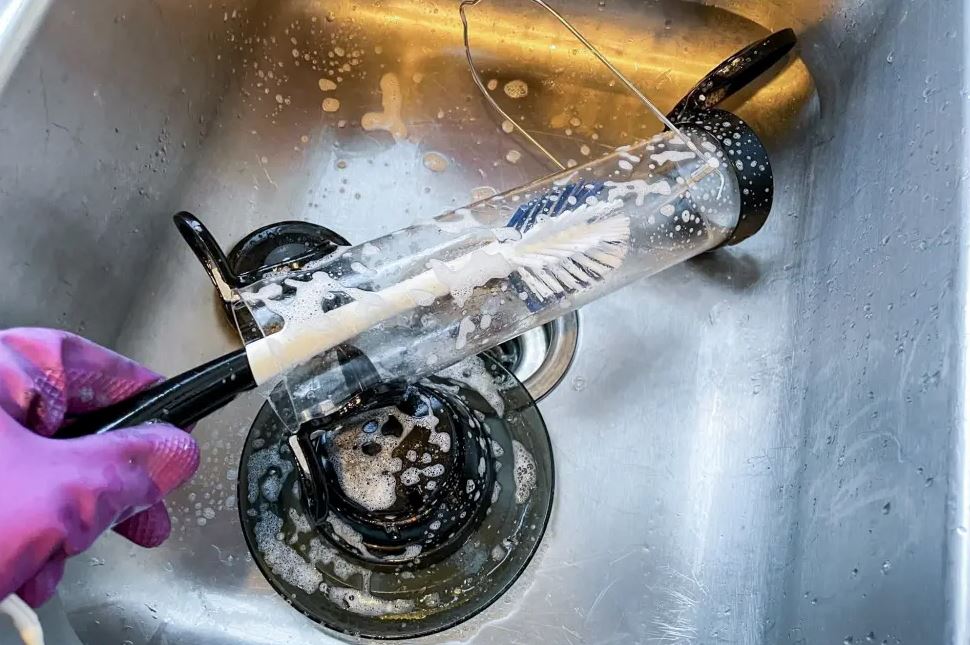
The best approach to clean a bird feeder is to disassemble it and then soak the parts in a mixture of hot, soapy water and distilled vinegar. Soaking for 5–10 minutes will help dissolve the residue, but the dirtiest feeders should be cleaned last. Scrub each component thoroughly, and then thoroughly rinse to remove any soap.
You are reading: Easy Clean Bird Feeders
For the most thorough cleaning, it’s best to take bird feeders apart into their component parts, but this is true regardless of the feeder’s construction or the species of backyard birds they’re meant to attract.
After soaking in the bubble bath for up to 10 minutes, you may go in there with a brush, rag, or scour to thoroughly clean every component of the bird feeder.
When regular dish soap isn’t cutting it, a distilled homemade vinegar cleaning solution can be added to the soak to destroy bacteria, kill mold, and remove residue.
It can be difficult to clean bird feeders because of the tight spaces within. To remedy this, you can get a Hummingbird feeder cleaning kit, which includes fine brushes and other tools specifically designed to clean the feeder’s inaccessible interior.
Because hummingbirds might drown in clogged feeding ports, manufacturers give Hummingbird feeders special attention when it comes to cleaning supplies.
Mold, bacteria, and residue, such as hardened bird food, grease, or oil, can grow on the inner clear tube or cylinder of a wire bird feeder, thus frequent cleaning is necessary.
It’s important to remove any traces of soap from bird feeder components before letting them air dry, as this residue can leave unsightly stains and, worse, be harmful to the birds if they accidentally ingest it.
Fully disassemble parts
It is now impossible to thoroughly clean any type of bird feeder while it is still installed; thus, disassembling the feeder is the only option for cleaning it.
To eliminate all bird feeders would be an impossible task, including the suet cage bird feeder, but we can surely try. For the simple reason that we can’t sanitize the interior of the feeders that hold the bird food or prevent the spread of germs that could make the food poisonous to the birds.
You may get ahead of the game by using bird feeders that are simple to clean, but even if you don’t, I can guarantee that you won’t have any trouble maintaining your feeder.
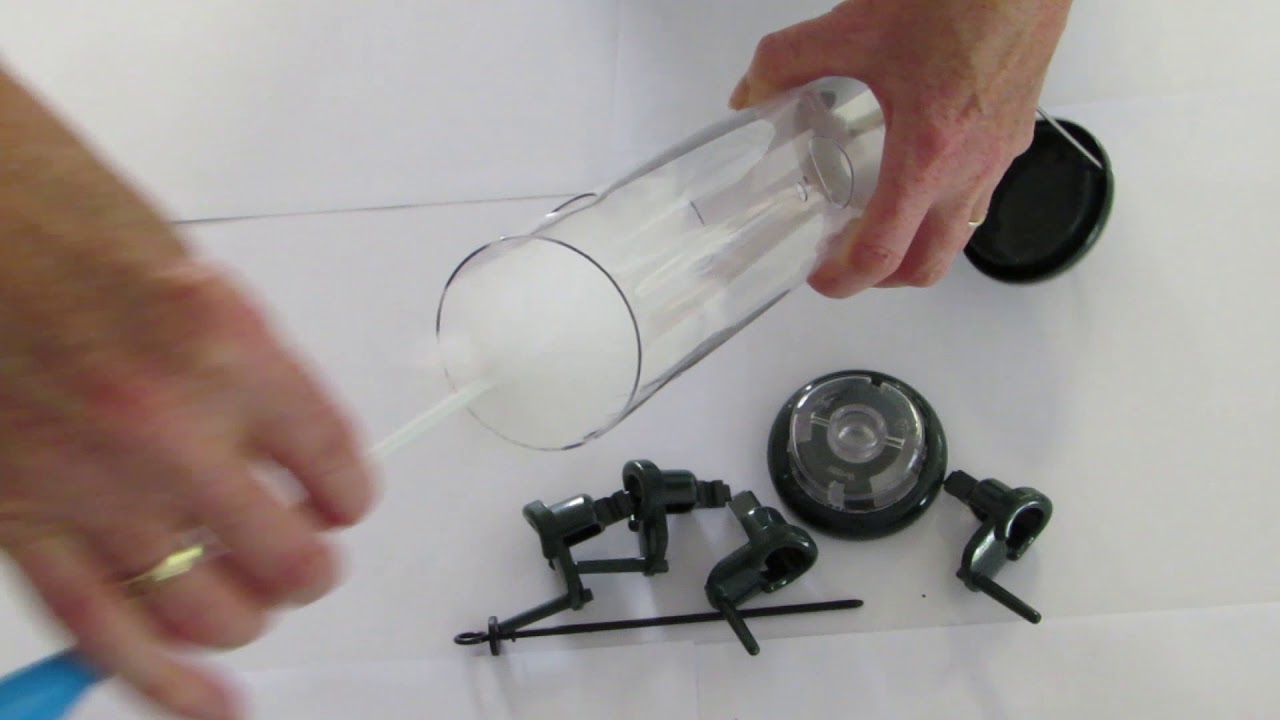
If a bird feeder can be dismantled, do it carefully, taking apart each component until you reach the central cylinder or clear plastic tube.
There is no need for instructions, especially if you tossed them away a long time ago, but the process of disassembling a bird feeder is often as follows:
- Easy-to-disassemble seed-mix tube feeders may be taken apart at both ends to reveal a clear plastic tube inside, making them the most convenient type of bird feeder to clean.
- Accessing the contents of this fine wire mesh Nyjer seed feeder is made possible by first removing the base (either by unscrewing it or by clipping it off), and then lifting the lid.
- To clean out a sunflower seed feeder, just unscrew or twist off the base, and then you can take the cover up and lean it over to the side.
- Most peanut feeders have a wire mesh base that must be unscrewed in order to be removed, whereas the cover is simply pushed out of the way.
- The roof of a wooden bird feeder often lifts up but does not come off completely, and instead, clear plastic panels are pulled out to make room for a variety of seed mixtures.
- Standard suet cake or fat ball feeders, such the kind seen in a suet cage, can be dismantled and cleaned with ease.
- Dish that is hung or affixed – A wire mesh tray or transparent plastic dish for a bird feeder is obviously NOT disassembled.
- It is not necessary to disassemble an open-top platform feeder, although a mild cleaning solution may be necessary for the treated wood.
- Hummingbird and oriole nectar feeders can be disassembled from their base and bottom into various pieces, and the nectar reservoir can be accessed by pushing out the port wells.
Bathe in soapy hot water
To clean a bird feeder, take it apart if possible and immerse each piece in a dish of hot, soapy water.
Just like when you wash the dishes, you should let the hardened residue or dirt embedded in unseen crevices soak in hot water for a while to loosen up and wash away on its own, or at least be easier to scrape away.
Read more : Do Birds Eat Pumpkin Seeds
Even seemingly hygienic bird food may quickly turn a brand new bird feeder into an eyesore, therefore it’s safe to assume that all bird feeders will get somewhat messy over time.
It’s best to avoid using the indoor sink and instead use the outdoor bowl to dispose of used bird feeder pieces.
Then, remove all portions of the bird feeder and soak them for 5-10 minutes before moving on to the next sentence of cleaning the bird feeder in the best method you know how.
Even if the possibly harmful soap residue is later removed, the easiest approach to clean bird feeders is to start with a thorough soak in hot soapy water only, using safe daily dish soap that is safe on most bird feeders.
Dirtiest bird feeders go last
Remember, if you’re planning on cleaning numerous bird feeders at once, start with the dirtiest one and work your way up.
If you clean your bird feeders from cleanest to dirtiest, the grime and muck from the filthiest feeders will accumulate on the next set of feeders, making them more difficult to clean.
In order to avoid contaminating the cleaning water supply, save the filthiest bird feeders for last.
Because of this, each piece of your cleaning equipment will eventually become soiled to the point that you need to clean it separately.
In the same way that you should always clean the suet bird feeders last since they tend to leave a huge grease slick behind, you should always clean the dirtiest bird feeders last.
In order to save time and energy, I recommend disassembling all of the feeders at once, rather than cleaning them individually; then, if desired, placing only the dirtiest parts of the feeders into the bowl to soak.
However, it is conceivable that you may need to refill the basin with hot soapy water more than once before you are done scrubbing the bird feeder.
Scrub deep in every crevice
After disassembling your bird feeders and soaking them in grease-cutting dish soap for 5-10 minutes, you’ll need to put in some effort to get them clean again.
Feeders made of wire mesh may require scouring to free stuck-on seed or nut fragments, while feeders made of clear plastic tubes can be cleaned with a soft brush or rag.
Providing the feeder has been disassembled and the parts placed in a bowl of soapy water, I’ll briefly recommend the easiest technique to clean each feeder by hand:
Cleaning the inner clear plastic tube of a seed mix tube feeder requires a scour and a long, soft brush to get to the middle. Similarly, the scour can be used on the other little plastic sections to remove any remaining seed residue.
- To maintain the cleanliness of your Nyjer seed feeder, you can disassemble its three main components—the base, the lid, and the hanger—and clean each one separately with a hard brush or scouring pad.
- Cleaning a sunflower seed feeder entails removing any oily buildup on the base and scrubbing the metal wire cycling with a scouring pad.
- The interior wire mesh cylinder of the peanut feeder should be cleaned with a long, hard bristle brush, and the smooth plastic components should be cleaned with a scouring pad.
- Bird seed feeders made of wood can be cleaned in a sink full of soapy water, and their individual parts can be removed and washed in the dishwasher.
- In order to avoid getting suet cake or fat balls all over your cage while cleaning it, you should save cleaning the suet cage for last.
- Dishes that are hung or mounted do not require disassembly for cleaning, although the nuts and mounting portions for poles may require a scouring brush.
- Feeder with an open top is not likely to be taken apart or submerged in water, but it may be cleaned with hot soapy water and a brush. Be careful not to scratch the wood or wear away the finish.
- Nectar-filled hummingbird or Oriole feeder – If you own one of these feeders, you should clean it regularly with a specialized cleaning kit that includes brushes of varying sizes to reach into crevices and remove bacteria from the port wells.
Rinse off soap reside
Every bird feeder may be cleaned in the same way by soaking it in a bowl of dish soapy water and then scrubbing it with a brush, rag, or scouring pad.
Also, be mindful of the surfaces you’re cleaning and use gentle tools so you don’t scratch them.
Dish soap residue left behind after a thorough cleaning might damage the feeder and potentially injure birds if they wind up eating the dried soap.
Read more : Birds That Eat Oranges
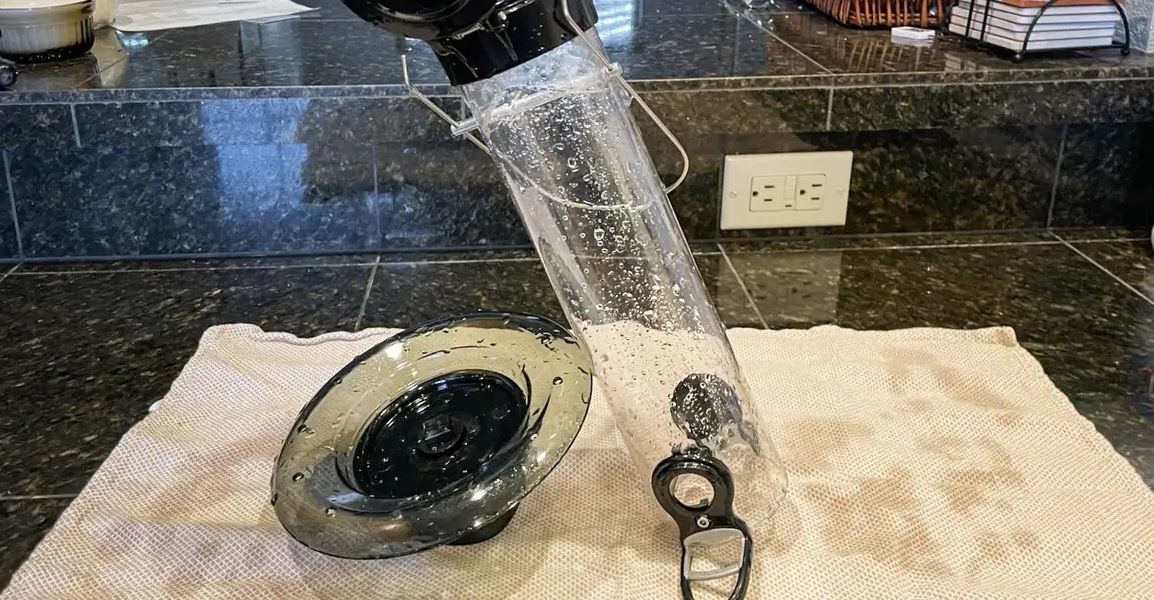
To be absolutely certain that all traces of soap have been removed, we can rinse each component of the bird feeder with clean water and then perform the same procedure once more.
Soap residue may remain after air drying each component of the bird feeder; this is because bubbles may form in the tiny crevices if the soap is not thoroughly rinsed away.
So there you have it; after washing everything with regular dish soap, you still need to rinse it well because it contains chemicals that might harm birds or corrode metal parts of a feeder.
Disinfect in effective solution
Let’s go back in time to when you were cleaning the components of your bird feeder in a bowl of hot soapy water in your backyard.
Dish soap can be used to clean bird feeders indefinitely, provided they don’t get too dirty, but you may need to take further action to remove stubborn stains and residue.
I neglected to explain that you can also cleanse each and every part of the bird feeder by soaking it in a DIY cleaning solution, such as a distilled white vinegar or a bleach solution.
Cleaning with white vinegar is risk-free because it is made by mixing 1 part vinegar with 4 parts hot soapy water.
Similarly, one part bleach to nine parts hot soapy water makes a significantly more potent yet diluted bleach solution.
One cup of vinegar or bleach to four cups of hot soapy water, for instance, is measured by using a mug or jug as one component.
The best approach to clean bird feeders and disinfect all of the pieces at once is to soak them in a boiling hot bowl of soapy water, and then mix up the vinegar solution at that point.
To summarize
The best approach to clean a bird feeder is to disassemble it into as many parts as possible and soak the smaller ones, as well as the larger ones, in a bowl of soapy, boiling water.
You should now know how to prepare a quick, safe, and simple cleaning solution out of distilled white vinegar to add to the bowl.
Vinegar’s acidity helps cut through grime while the solvent nature of the liquid helps lift stains.
Feeders that aren’t cleaned frequently are likely to have a substantial buildup of filth, so a DIY bleach cleaning solution is a good alternative.
Overall, it’s not going to do any harm to clean your bird feeders with some dish soap if you do it on a regular basis.
Sometimes you need to use a powerful cleaner to get rid of the dirt and grime that you can’t see, and to kill any residual bacteria or mold.
Remember that the dirtiest bird feeders should be cleaned last, since cleaning them earlier would necessitate changing the water and making a new bowl of disinfectant. This means that even the cleanest bird feeders will be contaminated by the residue and grime of the filthiest ones.
All the components of the bird feeder need to be soaked for at least 5 to 10 minutes in a solution of dish soap and disinfectant before you can start washing them with a brush, rag, and scour.
After you’re done, rinse all the bird feeder pieces in clean water to get rid of any soap residue that may have been left behind.
Source: https://petstutorial.com
Category: Birds